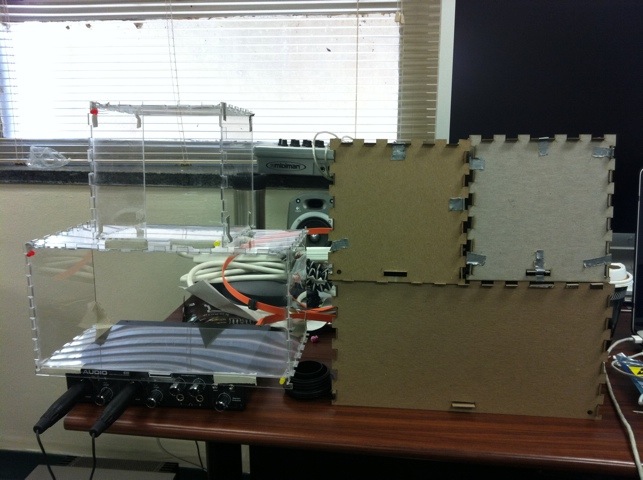
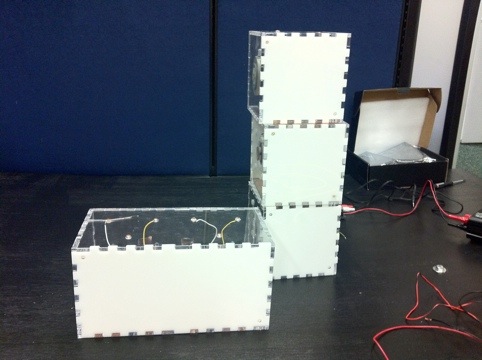
August 18: We are full working full speed on finalizing the block prototypes. For the most part, the blocks are following the original design ideas. We’ve made some decisions on how to run power and audio through the blocks. All in all, things are going smoothly.
June 10: I’ve been learning ComputerVision, using Max/MSP. This work uses Infrared Red lights, on each block, as markers to indicate areas for social media artifacts to be projected on.
Here are a couple videos I’ve made, as I learn a little bit of color tracking in Max/MSP. The next step is defining the rectangular area between the colored dots. And then putting an image in that area.
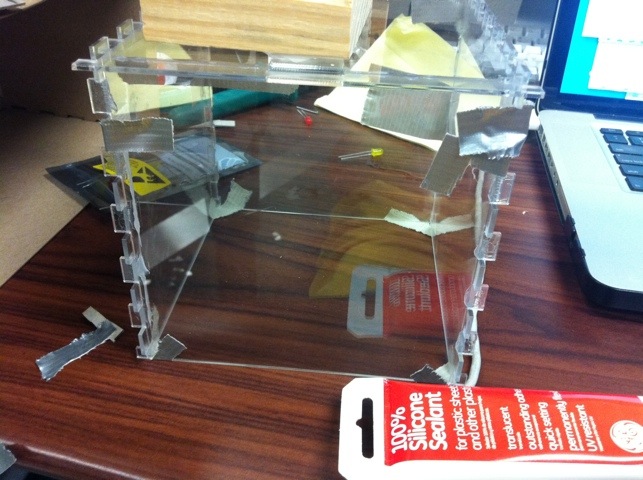
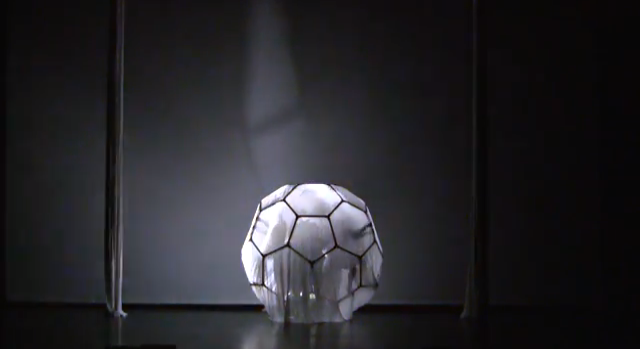
May 27: I glued together one of the acrylic blocks today (photo above). I will test the durability next week. I’ve been spec’ing IR emitters. These will be used with ComputerVision to locate the blocks and help decide what if/what is projected on them.
While adjusting the cut template, I’ve decided to make a version for .60 inch thick plexiglass. I bought a couple sheets the other day. This will really help me test the durability without out having the protruding finger joints.
Monday’s models will have the 0.60 inch joints, rearranged IR through holes, a back panel, and slats on the left and right panels (to help audio out).
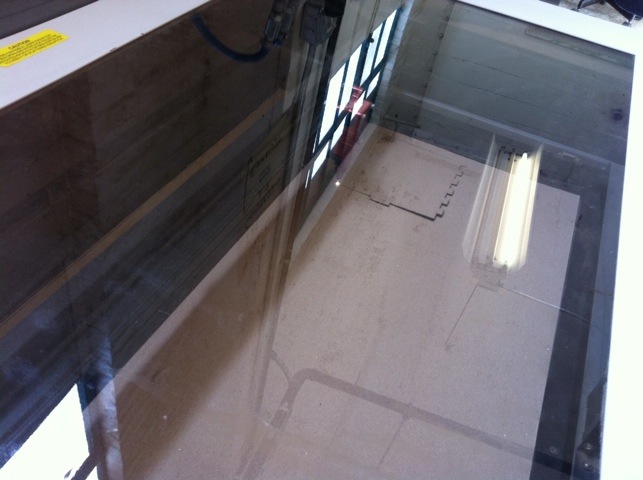
I’ve posted a video of the laser cutting the original cardboard blocks.
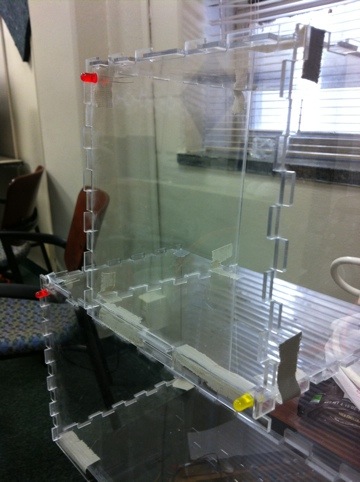
May 25: I made models out of .60 inch thick plexiglass. They came out nicely, but there is still some tweaking left in the cut template– mainly the IR emitter holes. Our target width for plexiglass is 1/4 inch, which I priced today as ~$95 at Lowe’s which would make one 6×6 and one 12×6 block. Pretty pricey.
I may make another model set for 0.60 width acrylic and set with glue.
The next step after resolving the cut patterns and thickness is durability. These blocks are expected to tumble and not break several times. At the moment, they are backless, which makes them more fragile.
Hardware wise, I’m pricing IR emitters and bolts/metal feet today.
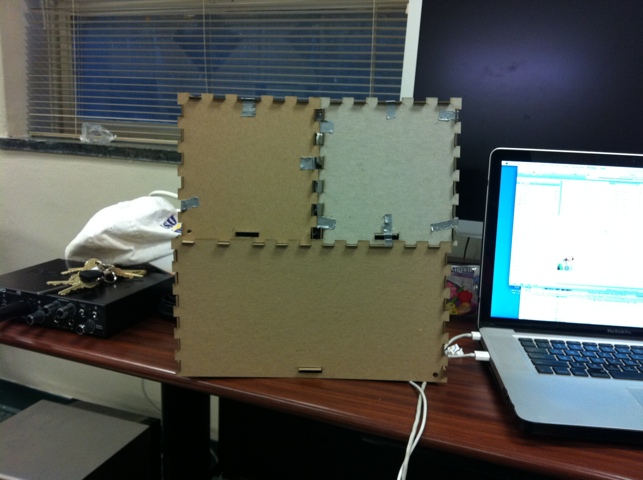
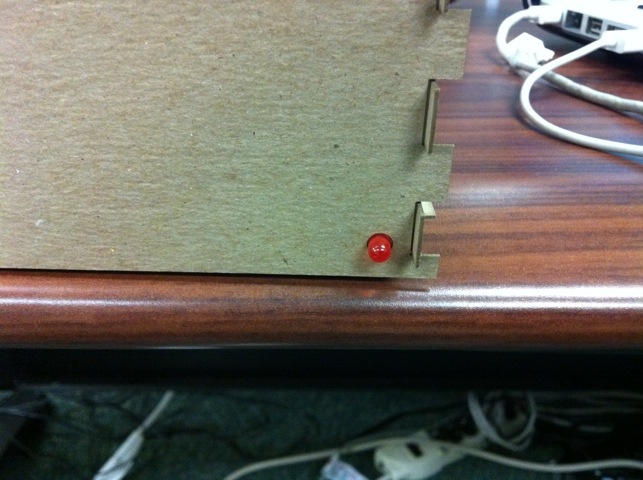
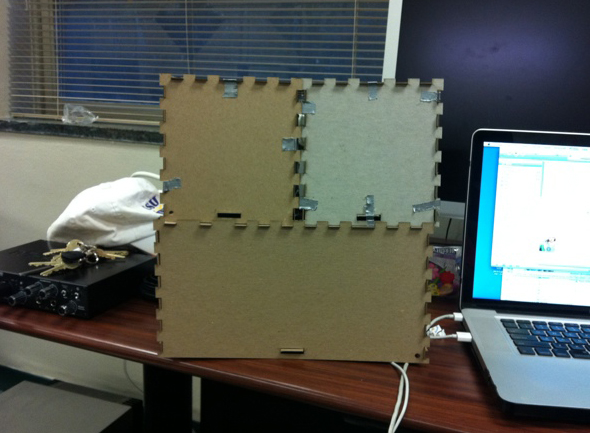
May 24: I’ve finished making the third model with cardboard. I’ve included holes for the IR emitters. And will look to use the acrylic boards in the coming days.
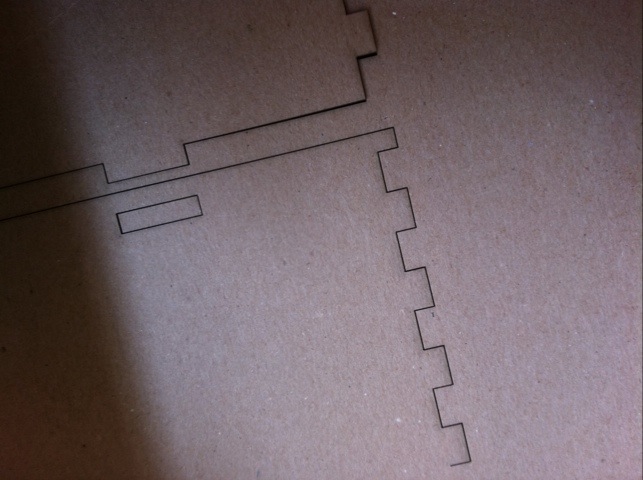
Using laser has been a lot of fun. I’ve learn a bunch in the template making, laser prep/focusing. I’ve been using Adobe Illustrator to create the cut files The computer in the lab ( possibly the drivers ) has had a hard time printing using the Illustrator files, so I’ve been converting to CorelDraw5 in the lab.
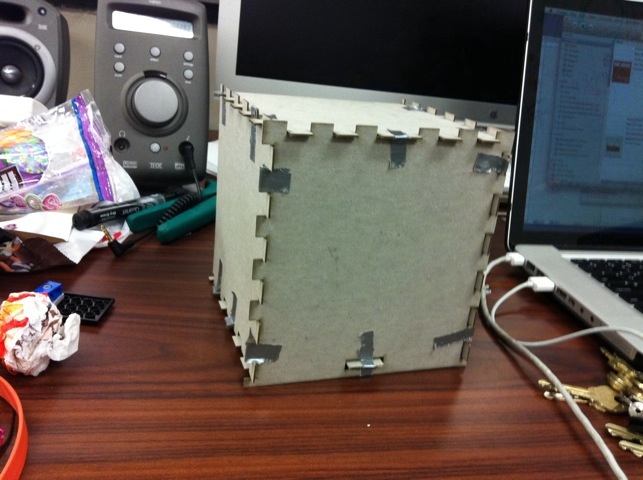
May 20: We’ve begun construction on the block. I’ve been prototyping with thin, non-corrugated cardboard. The first model has been made to original plan of a 6x6x6 block.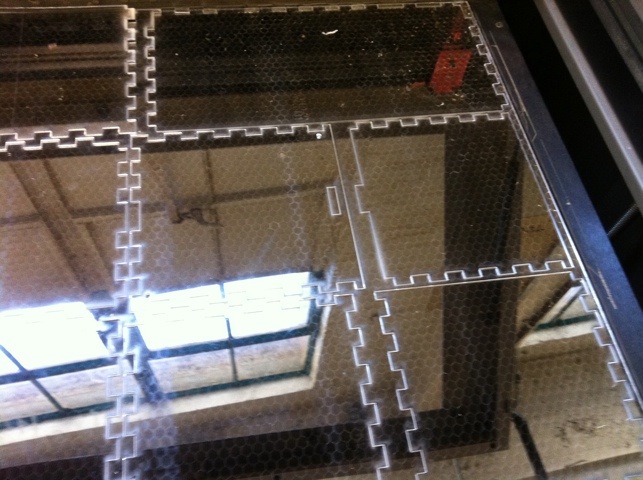
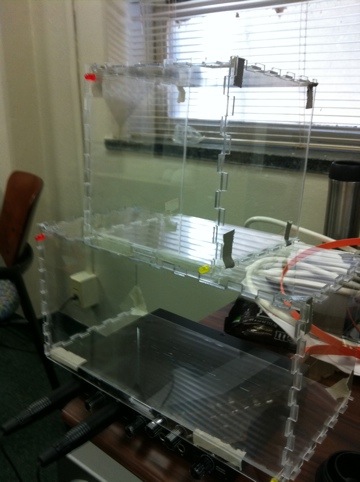
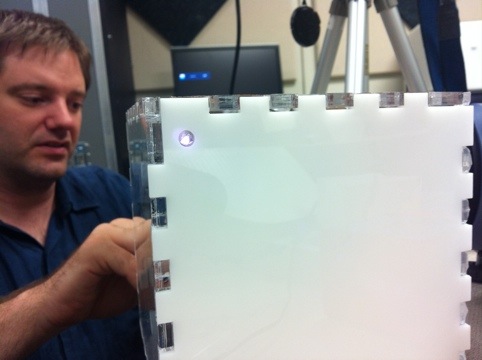
May 27: I glued together one of the acrylic blocks today (photo above). I will test the durability next week. I’ve been spec’ing IR emitters. These will be used with ComputerVision to locate the blocks and help decide what if/what is projected on them.
While adjusting the cut template, I’ve decided to make a version for .60 inch thick plexiglass. I bought a couple sheets the other day. This will really help me test the durability without out having the protruding finger joints.
Monday’s models will have the 0.60 inch joints, rearranged IR through holes, a back panel, and slats on the left and right panels (to help audio out).
I’ve posted a video of the laser cutting the original cardboard blocks.
May 25: I made models out of .60 inch thick plexiglass. They came out nicely, but there is still some tweaking left in the cut template– mainly the IR emitter holes. Our target width for plexiglass is 1/4 inch, which I priced today as ~$95 at Lowe’s which would make one 6×6 and one 12×6 block. Pretty pricey.
I may make another model set for 0.60 width acrylic and set with glue.
The next step after resolving the cut patterns and thickness is durability. These blocks are expected to tumble and not break several times. At the moment, they are backless, which makes them more fragile.
Hardware wise, I’m pricing IR emitters and bolts/metal feet today.
May 24: I’ve finished making the third model with cardboard. I’ve included holes for the IR emitters. And will look to use the acrylic boards in the coming days.
Using laser has been a lot of fun. I’ve learn a bunch in the template making, laser prep/focusing. I’ve been using Adobe Illustrator to create the cut files The computer in the lab ( possibly the drivers ) has had a hard time printing using the Illustrator files, so I’ve been converting to CorelDraw5 in the lab.
May 20: We’ve begun construction on the block. I’ve been prototyping with thin, non-corrugated cardboard. The first model has been made to original plan of a 6x6x6 block.

